The Cricut Maker is not the usual gadget we normally review at DRN. However a challenge is a challenge, and we absolutely do not back down from trying something new or different. Besides Lady A has been asking me to look into one, which makes it a win-win situation for me. So with thanks to Cricut for providing a review unit, let’s jump into the deep end.
What is a Cricut Maker?
The Maker is one of three in the line of products in the Cricut die-cutting machine range. This is their flagship model and allows you to make amazingly intricate crafts that you would struggle with scissors and precision knives.
The Cricut experience is like a cyborg, you need both the hardware, software and materials to work together for the outcome. The hardware I have on hand is the Cricut Maker (there is also the Joy and Explore Air 2). The software is the Cricut Design Space which is available for Windows, Mac, iOS or Android.
Cricut Design Space is where you do all the grunt work before the machine brings it to life.
First Impressions
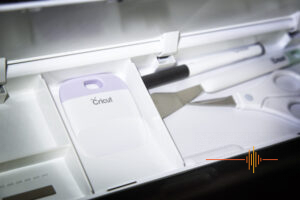 You are going to need some space on your work bench for this. The Cricut Maker is 540mm wide, and when fully opened up it is 270mm high. Additional to that, you will need some space in front and behind for the material to be fed through. To give you an idea, the grip mats measure around 350x350mm in size and this is fed through the Cricut Maker.
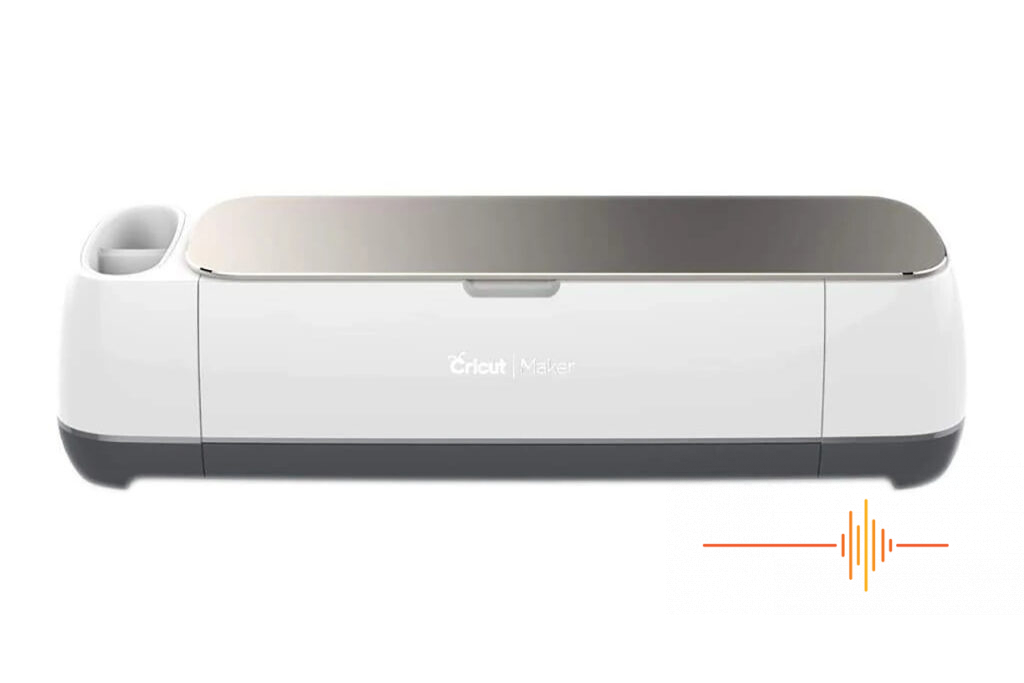
The DRN review unit has a stunning champagne finish on the top cover – very classy and elegant, and works really nicely with the gloss white finish. There is no sharp corners anywhere, every corner is curved. The design makes it look smaller than it truly is. Be aware that the machine has a bit of weight when lifting, but the weight does make the platform very sturdy when in use.
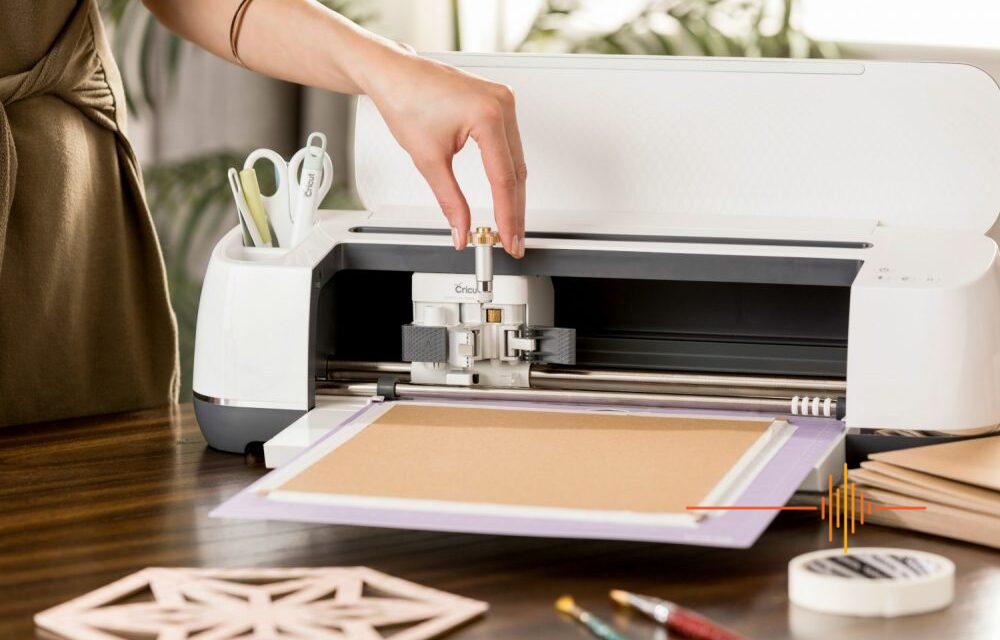
Opening the lid of the Maker will also automatically lower the feed tray for project materials. The left side of the unit has two tool holders with the bottom lined with rubber. It is a handy spot to keep your most used tools within reach. The right side have just four buttons – power, loading your project, start the cut and pause the process.
When the Maker is open, cleverly hidden in the front tray is a storage compartment to keep spares such as blades, lesser used tools and rubber scrapers. The blade compartment has a magnet to hold things in place.
At the top is a slot to hold your phone or tablet while the project is cutting, and there is a USB-A port on the right side for charging your device.
Cricut Adaptive Tool System
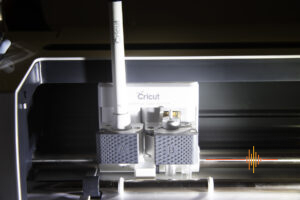 The Cricut Maker is powered by the Adaptive Tool System, but what does it mean?
The Adaptive Tool System is what gives Cricut Maker it’s powerful ability to work with over 300 different types of material and over 12 different tools and capabilities. It is really simple to swap tools to suit the needs of the project you are doing.
The best part is that whenever Cricut comes up with a new innovation, the machine is ready to work with it.
Getting Started
A few things before using your Cricut Maker. We chose the PC option of the Cricut Design Space, simply because the bigger screen works with our old eyes. Power and USB cables were duly connected, although there is the option of Bluetooth connection as well.
The first important step is to make sure the cables are not in the way of the feed path of the Maker. The mat and the materials you are working on needs to be able to move freely so keep those cables out of the way.
The Cricut Design Space can be downloaded from the Cricut website if you are like me, opting for the notebook use. Alternatively you can get it from your phone OS appstore. Pick a method, or more if you really want.
In the box comes with everything else you need to get started, including a practice project. There is:
- Cricut Maker machine
- Power cable
- USB cable
- Rotary blade
- Fine point blade
- Fabric grip mat (pink)
- Light grip mat (blue)
- Black pen
- Practice project
When you open up the package, things can get a little overwhelming. There are lots of bits, lots of grand ideas but possibly very little idea on how to get started.
The true test on just how easy it is, is to do what I did. I unpacked the Maker, installed the Design Space software on her notebook and told her to go for it. As she is inclined to do, Lady A promptly ignored the practice project, set up her Cricut account and did her own thing.
In Use
Lady A did do some learning via YouTube and within the hours was getting a handle on the Design Space and how to work it. By default the Design Space tries to reduce material waste, but it does not always work out. Once you start getting used to how the Design Space works, you can then find a process that works for you.
Her first project was custom clipart and names to put on our storage area for the children. Being our very first project because we skipped the practice one, we learned a few things by trial and error. “I have not failed. I’ve just found 10,000 ways that won’t work.” – Thomas A Edison. Well we didn’t fail 10,000 times, but we did learn there are some limitations which I will cover off later.
Everything starts with the Design Space. If you have used design software before such as Adobe Creative Suite, CorelDRAW, CAD and the like, then you are well on your way. If you haven’t then don’t worry, there are plenty of resources on the web to get you going. It is not that hard, just a matter of investing some time in learning. Keep in mind that Design Space is more a basic tool to create minimal designs with shapes and fonts, and touching up projects.
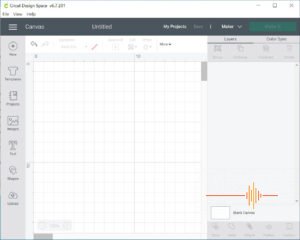
It begins with a blank Canvas. This is where all the editing is done before cutting. All around the Canvas is the tools to create your design.
- The top panel is the editing tools, you can also calibrate your machine and update firmware, manage your subscriptions to Cricut Access
- The left panel is where you get to insert things, like templates, images, text, shapes etc
- The right panel is the layers panel – think of making lasagna, to make it you need to layer your pasta, meat, sauce, cheese. No different here, to create your design will need to layer it.
This is all you need to do basic designs.
To supercharge your creativity, you can subscribe to Cricut Access, which is a giant library with over 90k of images, fonts and pre-canned projects. There is also additional licensable products as well if you need more.
Is it necessary to pay for Cricut Access? Not to get your Cricut Maker going.
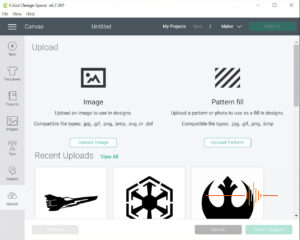
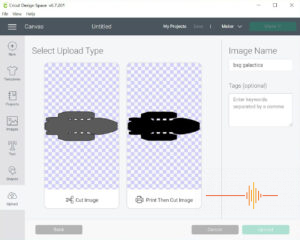
If you are the creative type and can design your own, Design Space allows you to upload your own images and send it to the machine for cutting. What Cricut Access offers is potential time saving by leveraging off an existing library of work.
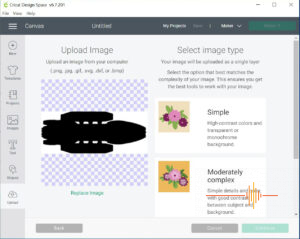
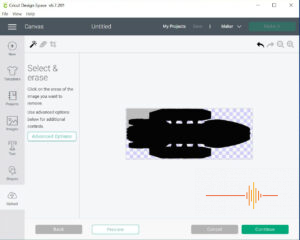
The Design Space does guide you through the process as you upload your own design. With the basic shapes that I was doing, it was simple to use the built in wizard to pick out all the spaces that needs to be transparent (or to be discarded). That makes it clear to the Maker where the cuts need to be.
Cutting
Cricut provided us with a variety of vinyl tape to play with. We had rolls of plain colours, glitter (bling bling!) and holographic colours. Some of these rolls have multiple sheets of colour vinyl tapes in it, others such as the glitter has just the one but in a longer sheet.
In order to get the cutting started, you need to mount the material onto one of the cutting mats. For the vinyl we used the light grip mat (blue one). It would be prudent to use the scraper to smooth the material onto the grip mat. After that it is a matter of putting it at the starting position on the tray and press the Cricut button to start the cutting process.
Make sure you clear the space behind the project as well as the Maker will pull the mat in and out as it cuts.
Also note that the thickness of the materials differ. You will be prompted to specify the material being used. The holographic vinyl that I was using for some projects is noticably thicker, and slicing off just a smallish amount resulted in a bad grip on the grip mat and movement during the cutting. You can put a large piece of material on the grip mat, the Cricut won’t touch anything that is outside the cutting area.
Finishing
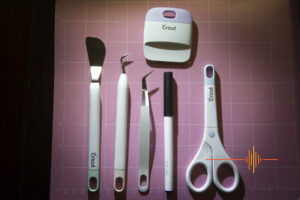
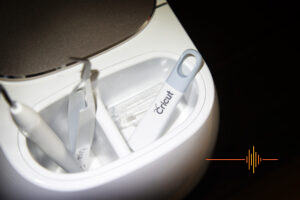 Cutting the project is only part of the job. Once the cutting is finished, it is time to use some of the other accessories that we were provided in the Basic Tool Set. There is:
- scissors
- tweezers (I love the reverse grip design, I want to steal it for my own projects)
- weeder – for removing negative pieces around a cut image
- scraper / XL scraper – to smooth or burnish material
- spatula – for lifting the project off the cutting mat without tearing or curling
The weeder gets a pretty good workout to removing unwanted pieces of off cut from a design. That in combination with the tweezers will have the final image ready for transfer in no time.
Once that is done, the next step is to put on the transfer tape onto the finished design. Lift the design off the backing paper carefully and transfer it onto the final surface. This is where the scraper comes in handy to get your design onto the transfer tape first, then to use it to transfer onto the final surface. Make sure the adhesive is bonding to the surfaces before carefully removing the transfer paper. Voila!
Note that for the glitter vinyl, it comes with it’s own transfer tape that has more tack. The standard transfer tape doesn’t work here and yes, we found that out the hard way. The good news is, it comes with the glitter vinyl roll, just look towards the center.
Results
The past few years saw me dive back into scaled model building and I work with intricate parts, decals and very fine precise cuts. To say that the Cricut Maker does amazingly intricate cuts is a gross understatement.
The precision and power that the Cricut Maker controls has to be seen to be believed. Ever since I saw the DNA of Flight on The Expanse’s Razorback (which was based on Virgin Galactic’s DNA of Flight), I have been wanting to do a variant for my laptop. There is not a lot of space available and the details are quite intricate.
This is where our first efforts failed as some of the lines are just too thin to work with. It would have worked perfectly if I did it in reverse, having each aerospace element removed. I wanted a really clean simple silhouette of each airframe so I had to go back and beef up some of the finer elements such as on the Wright Flyer. As you can see in the photos just how fine and clean the cuts are.
Look at the amazing Naruto design Lady A found for Master J. The Cricut Maker did not even work up a sweat cutting it out. She even custom it with his name.
Lady A chose the ornate A from the Cricut Access library, and had it cut in the glitter vinyl. The final result is very her and adorns her notebook.
We took the opportunity to create a new decal for our recycling bin, the old hand drawn one was fading away.
Lady A also did some His and Her’s thermos, she chose her bling glitter vinyl. Mine was a more discreet black on silver.
Finally to really showcase just how fine the Cricut Maker can cut, the little Battlestar Galactica Viper Mark II is all of 1 centimeter high.
 Other Features
While we have focussed on just vinyl cutting in our review, the Cricut Maker can cut over 300 different materials from silk to balsa wood.
The Cricut Maker comes included with the Rotary Blade and a Fine Point Blade. There are other options which can be purchased separately.
The Rotary Blade is recommended for vinyl cutting, and as can be seen with our projects, makes some seriously precise cuts.
The Fine Point Blade is designed for cutting both thin and medium-weight materials. It provides flexibility to cut paper, cardstock, iron-on and vinyl.
Option blades include Knife Blade, Deep Point Blade and Bonded Fabric Blade. They all serve a different purpose from cutting wood up to 2.4mm thick, to cardstock and well, as the name says, bonded (non-woven) fabric.
There are also different types pens to write your design on different fabrics, this is mounted separately from the cutting tool.
Gripes
I would love to see a little cable management tray to keep those neat and out of the way.
There is a restriction on the length of the material, being limited to 61cm when the Joy can handle up to 6m.
The Design Space is not going to win any awards for functionality or ease of use. It is adequate for a beginner but not meant for seasoned designers. Being able to upload work from another program is a workaround that I can live with.
Lady A’s big complain about the Design Space is the catalogue browse function. It is clunky and difficult to find things within it.
The cutting process is can be quite noisy.
Not so much a gripe but a heads up, when you overlay fonts (or images), you need to use the weld function to join the overlap. Otherwise the Cricut will make cuts along the shape and you will end up with cut lines where the overlap is.
Conclusions
I am pretty amazed at what the Cricut Maker can do. Just looking at the projects that Lady A is churning out with the review unit and materials really shows how unconstrained you can be with the designs. We haven’t even gone to use the pens yet but the possibilities are endless. There are plenty of add on tools that can be purchased separately.
The main expenses after the initial purchase is materials and Cricut have a variety. There are other materials out there you can use as long as you set the thickness correctly, there is nothing to say you must only use original Cricut materials. If you are thrifty and careful, the transfer tape can be used a number of times before it needs to be discarded.
Lady A really really likes it. She had an eye on it for a while and I can certainly see why she is so keen. The Cricut Maker has is RRP at AUD$649 and is available from Harvey Norman, Spotlight and Costco. Unfortunately it seems we only have the champagne variant in Australia but it does look absolutely stunning. I am not sure if it is official but Spotlight seems to have a lilac version at the moment, plus a VIP discount bringing it down to AUD $499.
DRN would like to thank Cricut for providing us the opportunity to review unit along with tools and materials. This stunning device gets the DRN Pulse Award!
Specifications
Weight: 10 kg
Dimensions: 57.4 x 18 x 15.7 cm
Color: Champagne
Force: 4k
Technology: Adaptative Tool System
Cartridge Slot Adapter: Needed
Max Cut Depth: Up to 2.4 mm
Bluetooth: Yes
USB Port: Yes
Fine Point Blade: Yes (included)
Fabric Bonded Blade: Yes
Deep Point Blade: Yes
Foil Transfer Kit: Yes
Rotary Blade: Yes (included)
Knife Blade: Yes
Quick Swap Tools: Yes
Docking Station: Yes
Print then Cut: Yes (Different Colors)
Cricut Pens: Yes
Scoring Stylus: Yes


